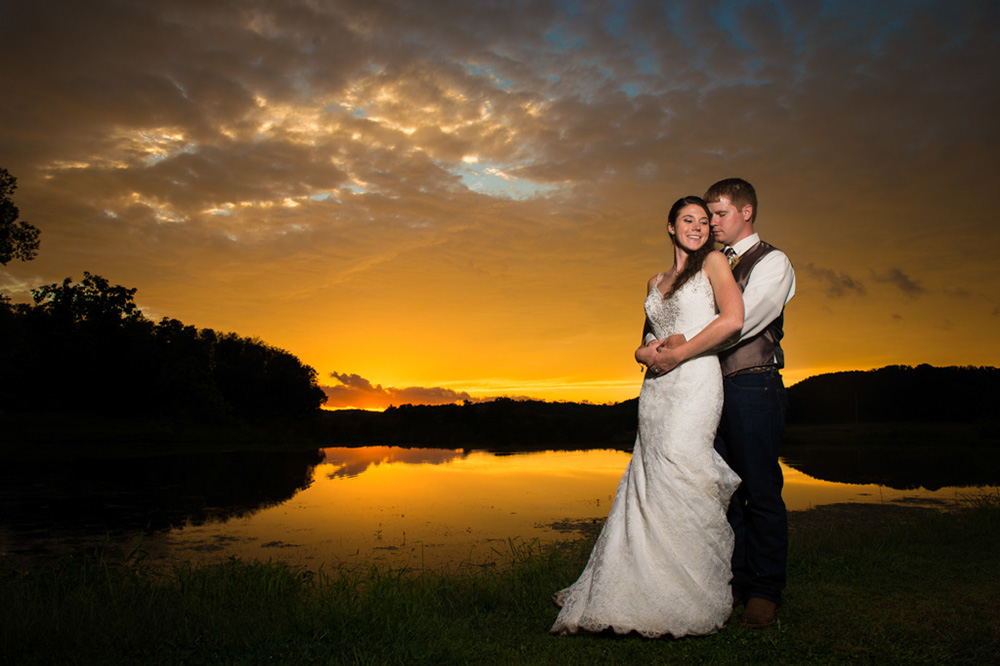
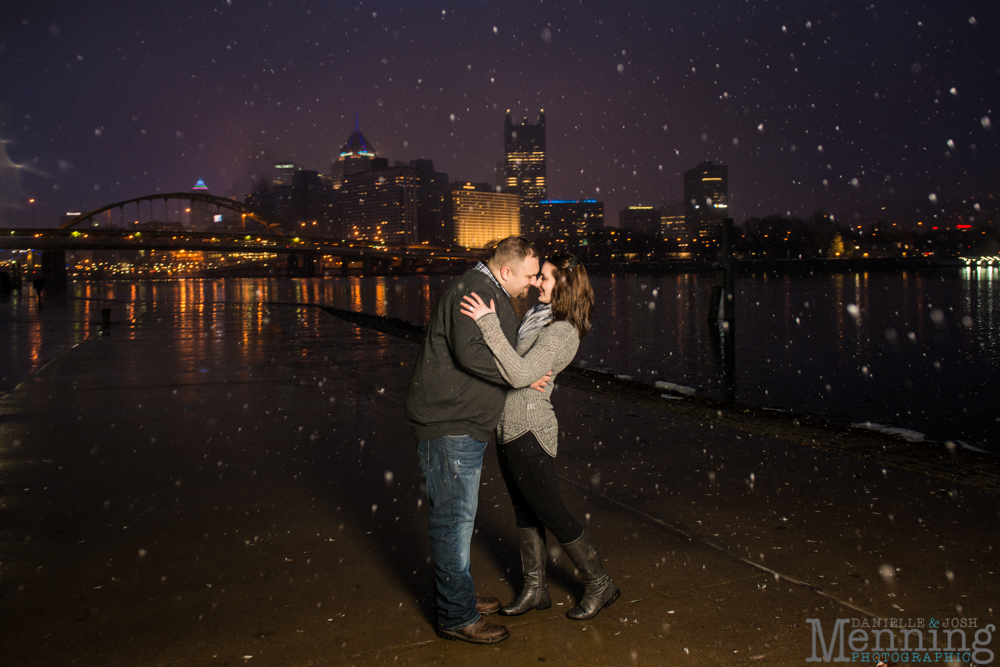
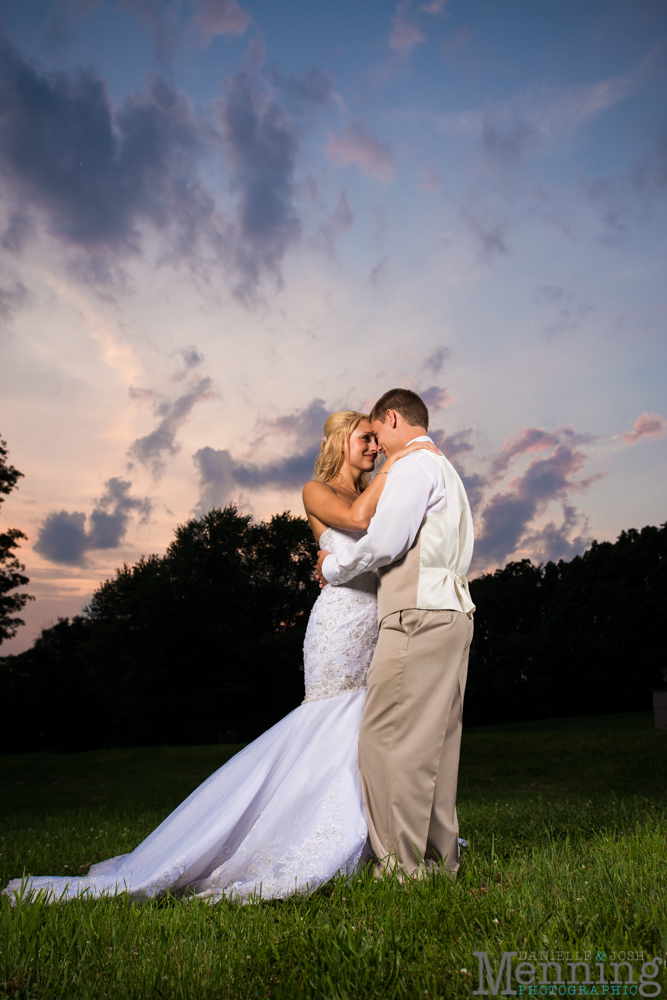
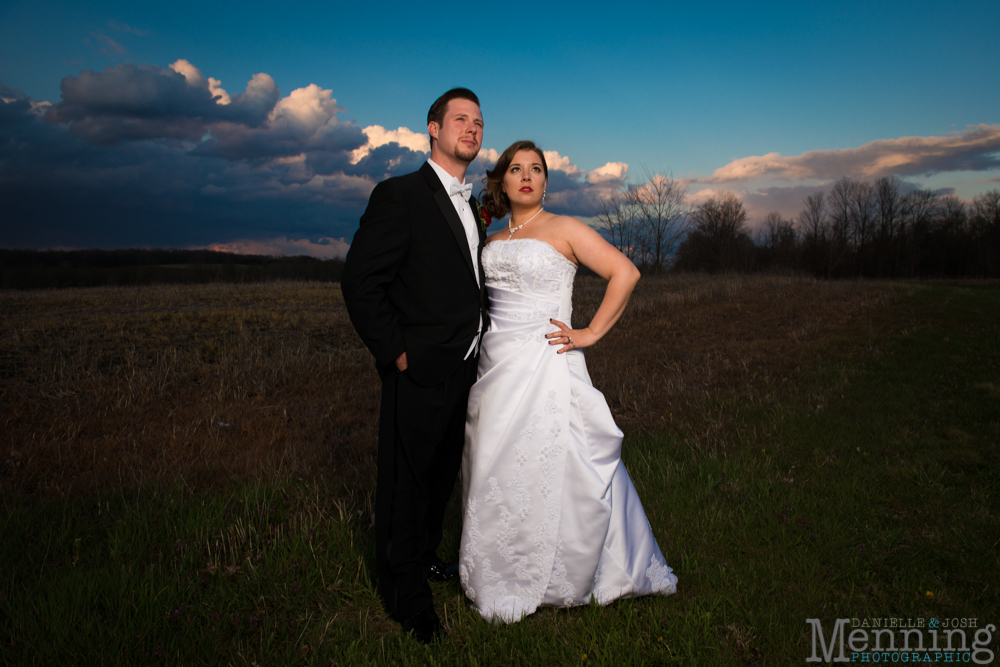
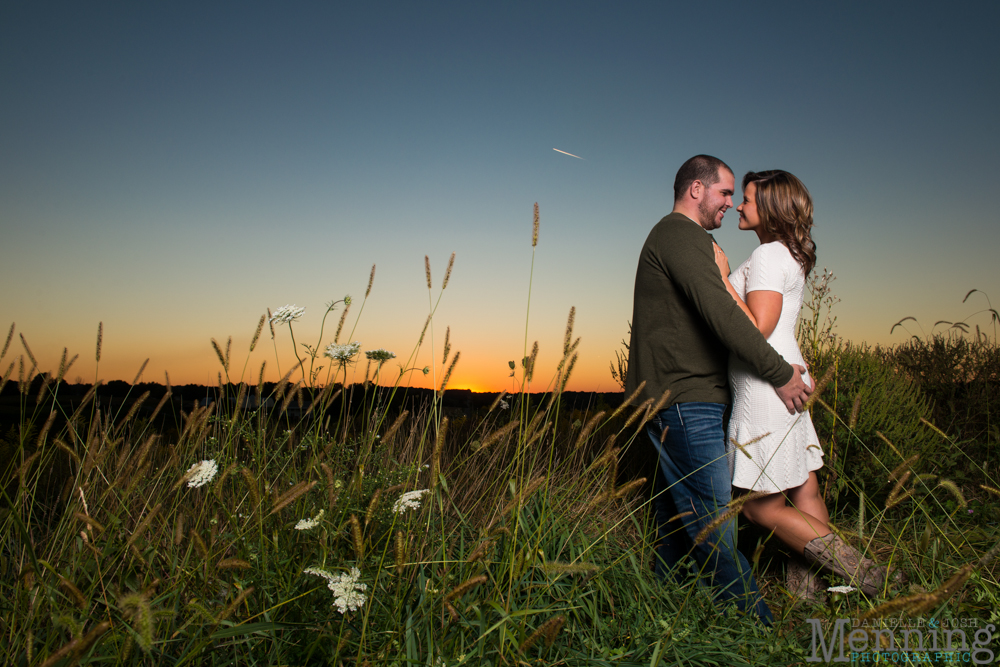
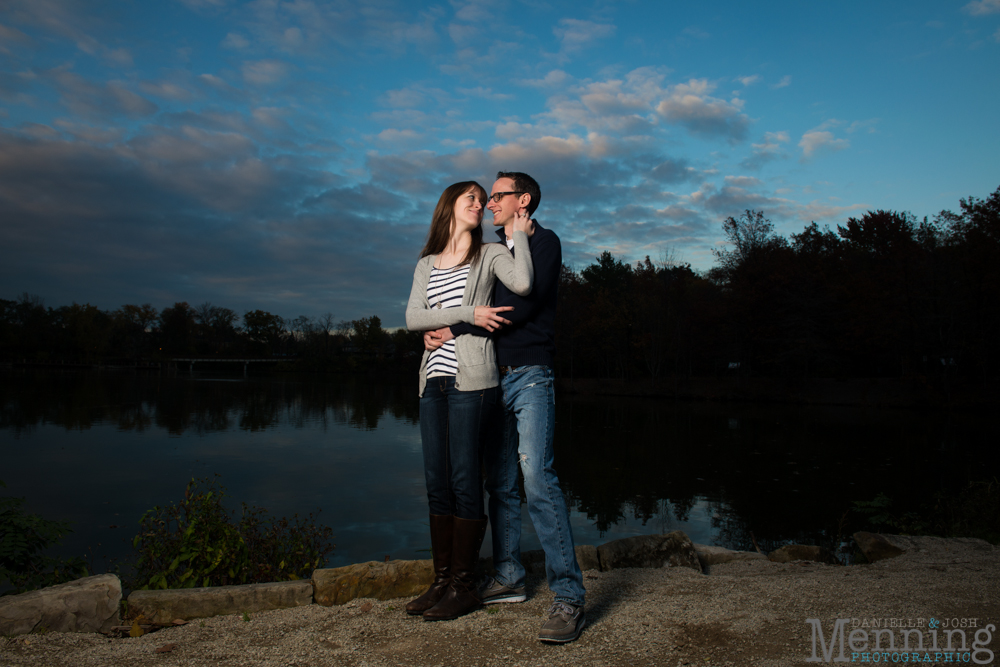
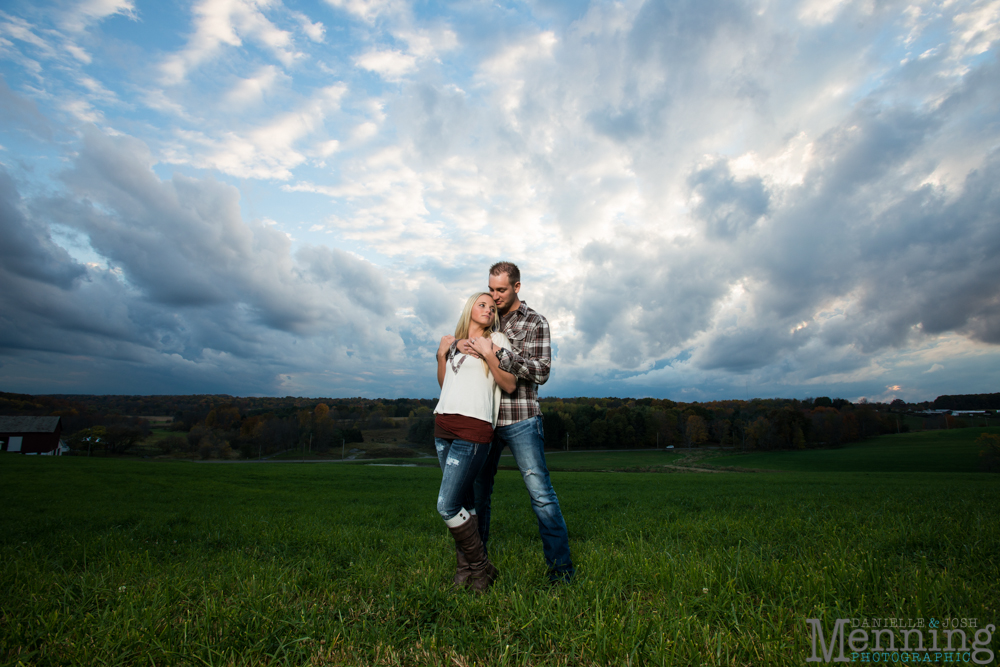
Nothing ends a wedding or engagement session better than a couple passionately embracing as the sun sets. Well, sometimes I (Josh) disagree with that. When the sun goes down (insert Kenny Chesney song) that’s when the sky illuminates with crazy awesome colors and you can get some AMAZING images! Yes, it’s great to have those warm, golden, softly, back lit images with the sun dissolving into the horizon, but being able to capture all the colors God paints in the sky after the sun disappears and have proper exposure on the couple really can make a statement in your images. So, in this edition of Fun with Photography I (Josh) will be sharing a little bit on how we capture images like this:
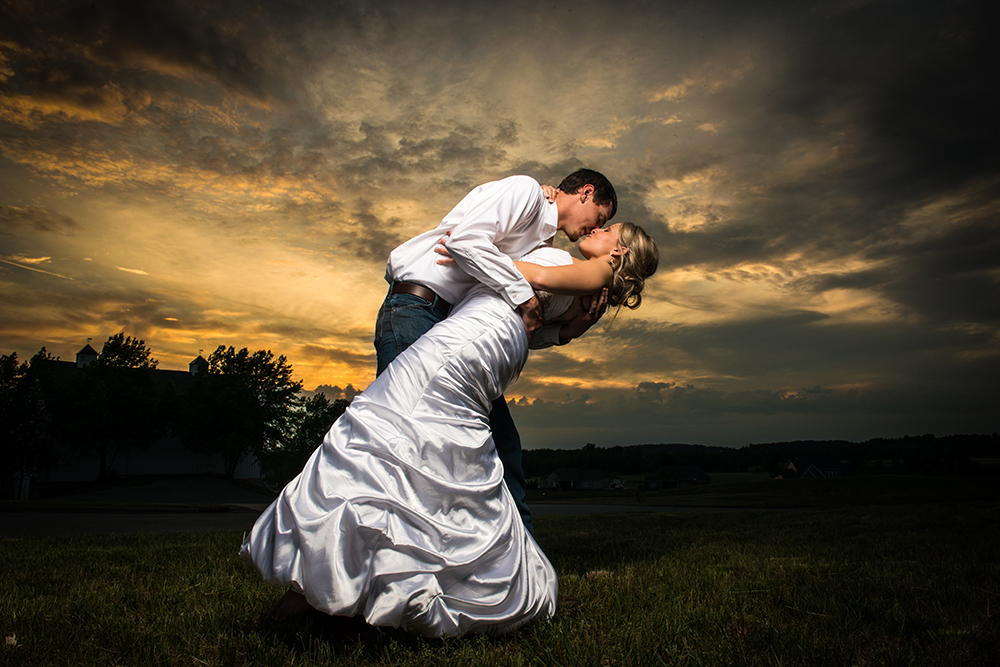
Step 1, get a hot couple (this is the easiest step because there is hotness in every single client we have). 🙂
Step 2, get a camera and off camera flash. Having a camera sounds obvious enough, but having a great off camera flash source is CRUCIAL! Because of the fleeting nature of these types of shots we quickly grab our Elinchrom Quadra Ranger (no longer available but check out Elinchrom products) with our PocketWizard miniTT1 & FlexTT5, Wescott softbox, and head outside.
Step 3, find a beautifully colored sky. This is the hardest step. We all pray for no rain on wedding days, but sometimes the remnant clouds of a storm system can leave behind are absolutely breathtaking! Without getting too scientific, at & after sunset when the light from the sun hits particles in the sky or clouds at a lower angle it scatters the shorter wavelengths (blues & purples) and the longer wavelengths of light (reds & oranges) are more prevalent when the light hits our eyes. The saying “Red sky at night, sailor’s delight” holds true because there are less particles and clearer air off to the West that will be overhead the next day. You can read more about this here from National Geographic. Furthermore, clouds act as a projection screen to capture these wavelengths floating in the sky.
Step 4a, get proper exposure. To make the sky look super dramatic there are a few steps we learned from Zach & Jody that we’ll share with you here. I’ll try not to get too technical here so I’ll keep it simple. Set your shutter at 1/100th of a second and your ISO at 100. The aperture is set by reading your light meter on your camera. To get this value, point your camera toward the illuminated sky and adjust your aperture by looking at the camera’s light meter until you are two stops underexposed.
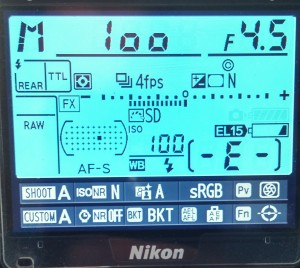
Step 4b, set flash exposure. Once you have those settings in your camera you need to match your off camera flash with the same exposure. In order to achieve this quickly without guessing and wasting time with test shots is with a light meter. We use the Sekonic L-358 light meter to get our flash exposure. We input our camera settings into the light meter and fire our flash and adjust the power until our light meter displays the same values we put into our camera. You can also make the sky look more or less dramatic by adjusting your shutter speed for different light ratios. For more information on light meters and light ratios go here.
Step 5, pose your couple. Posing your couple is a whole other animal but I’ll keep it super short. Go EPIC with your poses! Yes, sometimes dipping and kissing can be cheesy, but if your couple really goes for it you can feel the passion! Also, cool, edgy poses look sweet, as well.
Step 6, shoot! Whew, we made it through all that crazy stuff and finally to one of the most important parts. Your shooting angle is key to achieve dramatic sky images. Find a hill or some spot that has the best view of the sky and minimal distractions on the ground. If you are standing at eye level with your couple you aren’t going to capture much of the sky unless you are standing on top of a hill or a cliff. Try getting close to ground level and shooting up towards your couple. Also, use a wider lens to add more drama and to maximize the amount of sky in the image. Finally, shoot away and make sure you wait until your flash is fully charged again in between shots.
Step 7, edit the images. We shoot in RAW format and use Adobe Photoshop Lightroom to edit all of our images. Make your usual adjustments that you would for any other photo. To enhance things a bit add a little more contrast, darken the shadows and blacks, add more clarity and vibrance, and play with the Saturation and Luminance channels to brighten or saturate specific colors. You may need to add a little luminance to the orange & red channels or reduce the saturation of those channels if the skin tones start to look cartoonish. And maybe a bit of a vignette to draw the viewer into the image. Don’t overdue the enhancements because you still want the image to look natural.
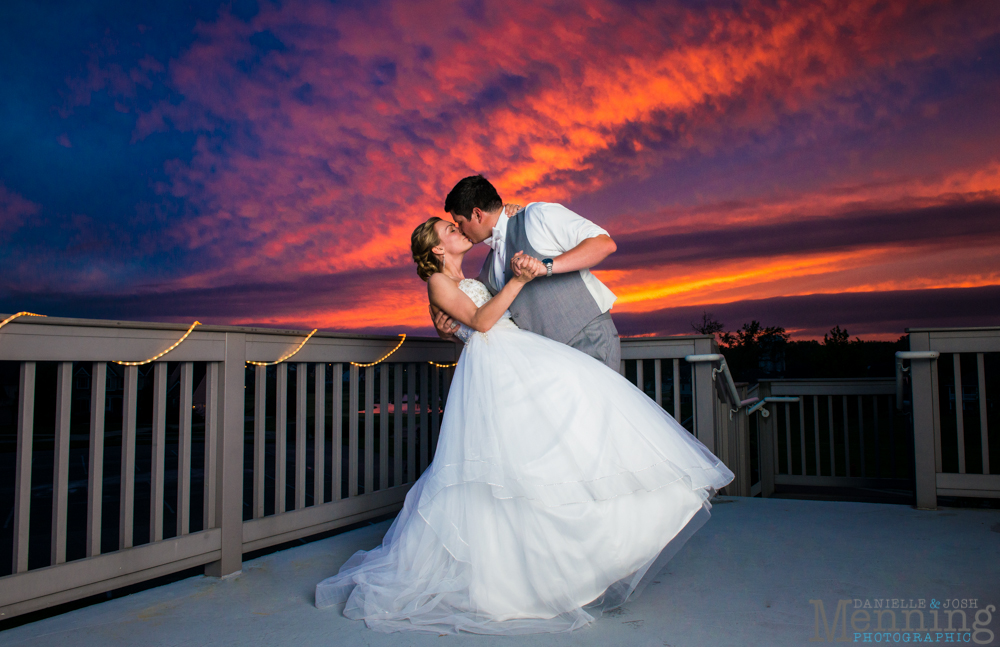
After all that, enjoy these lovely after sunset shots:
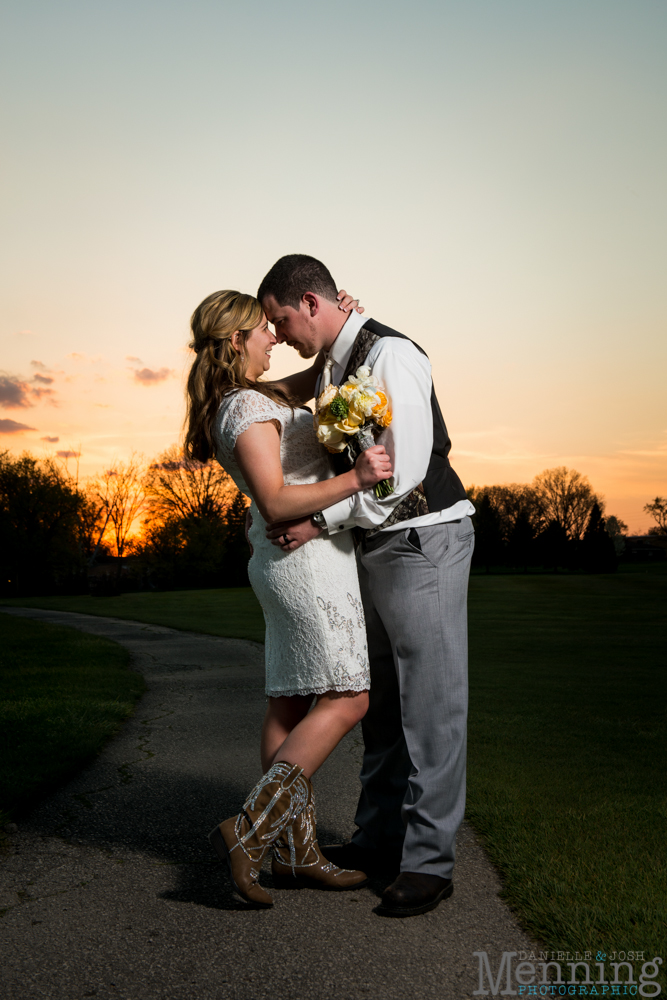
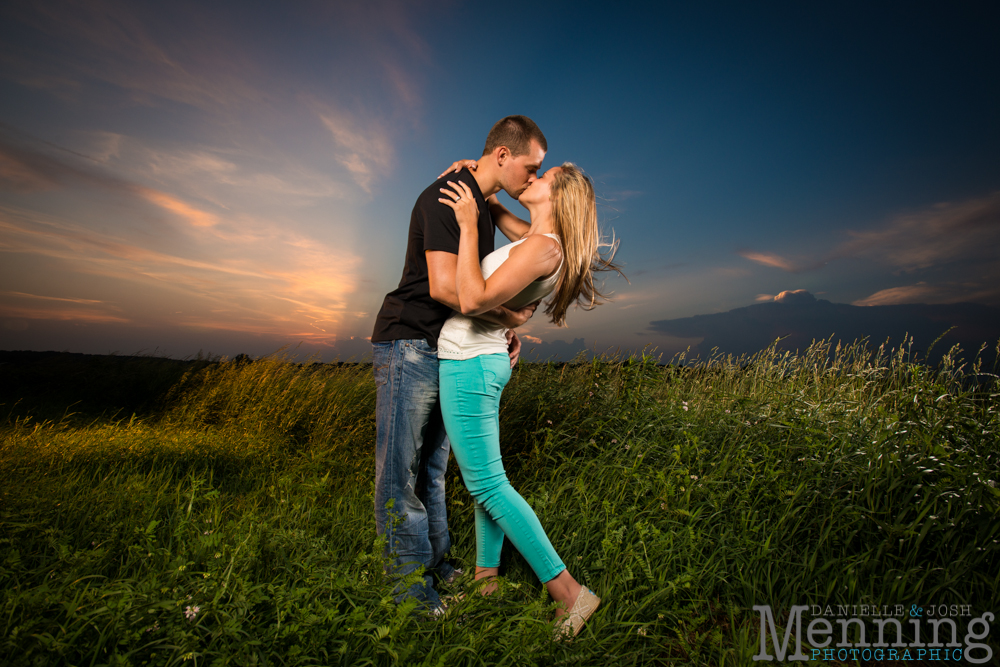
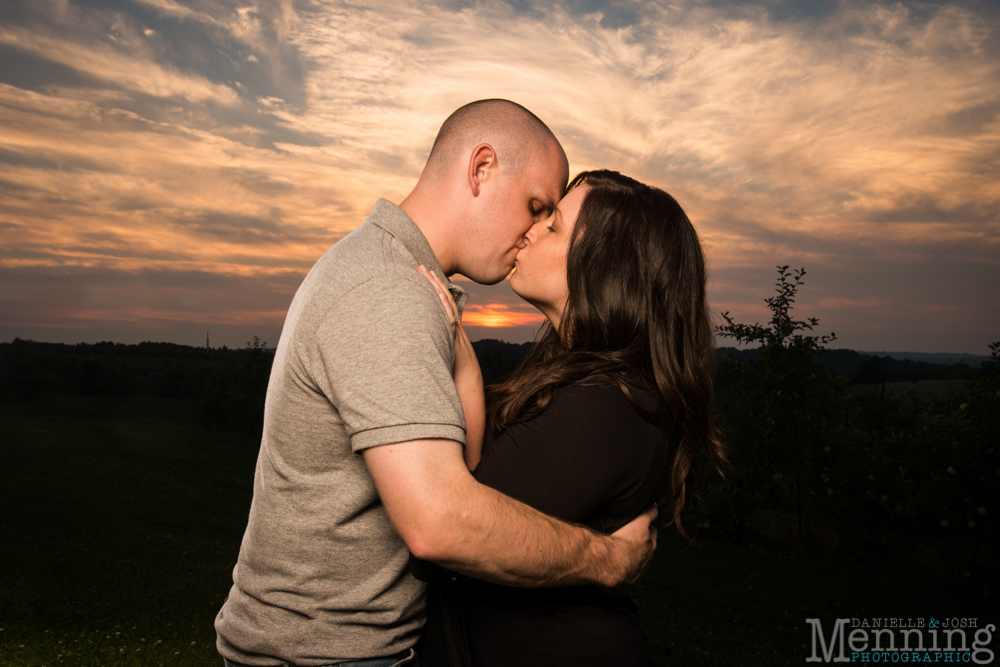
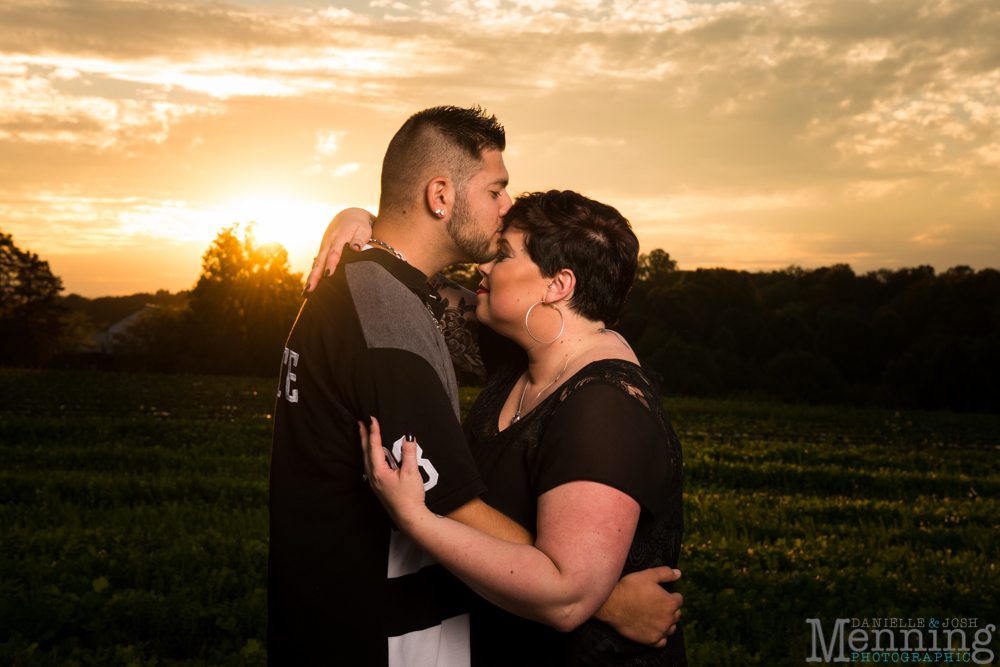
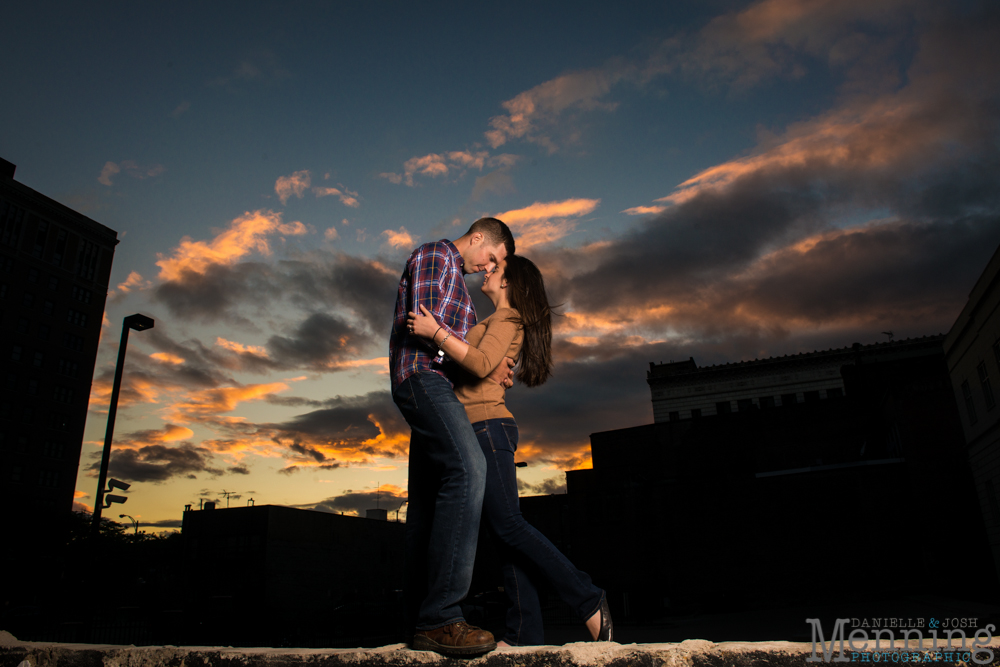
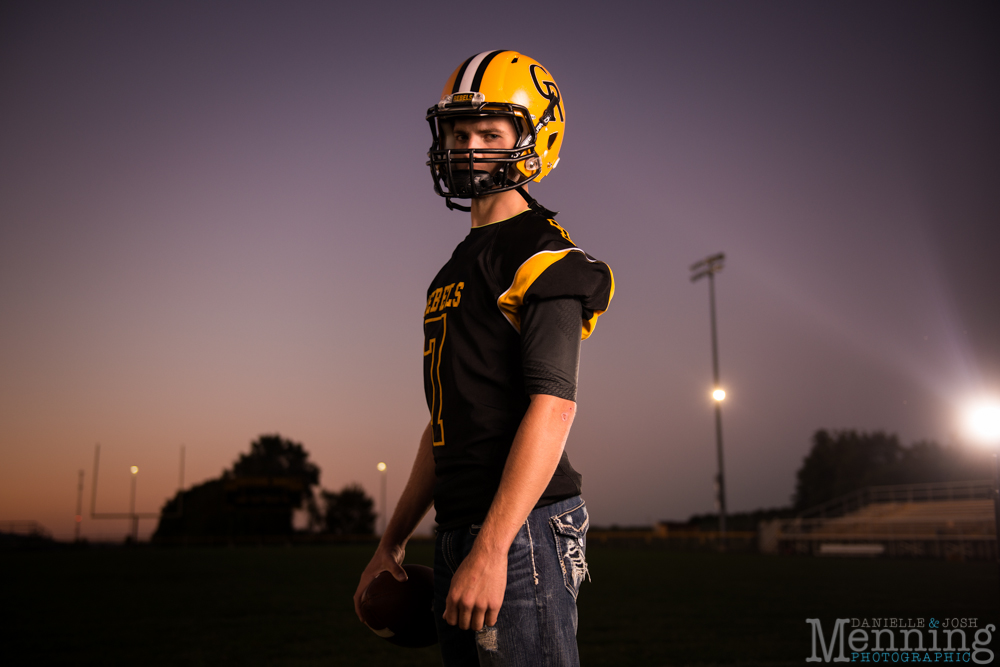
Why not throw in a senior photo for a change?
Here’s the link to the other Fun with Photography blog in case you missed it: Fun with Photography | Shooting Layers.
If you have any questions about shooting these type of shots feel free to email us at info@menningphotographic.com.
Instagram | Facebook | Twitter | Pinterest | Google +
 Follow
Comments
One response to “Fun with Photography | After the Sunset | Youngstown, OH Wedding Photographers”
I love the engagement and wedding picture gallery . You are creative and innovative. Not the humdrum Traditional set of pictures . Thank you for Arron & Karlee Clay and family a beautiful and selection of picture to remember their special day!