Josh & I are on maternity leave as of Monday. Our baby is due Sunday, February 22, which is 4 days away. Whoa! 🙂
So we took some time yesterday to do a Pinterest project that we’ve had the materials for since . . . well. . . awhile ago. 😉 You know how it is.
We made personalized home decor for our bedroom & I think it looks fantastic!
We love music. We love LOVE. We love our wedding. We love thinking back upon that amazing day. We love remembering the vows that we made to each other. Soooooo, we made canvas art with the lyrics on it to our first dance song from our wedding day. Super sentimental & personal. Perfection. Our inspiration for the project came from this blog.
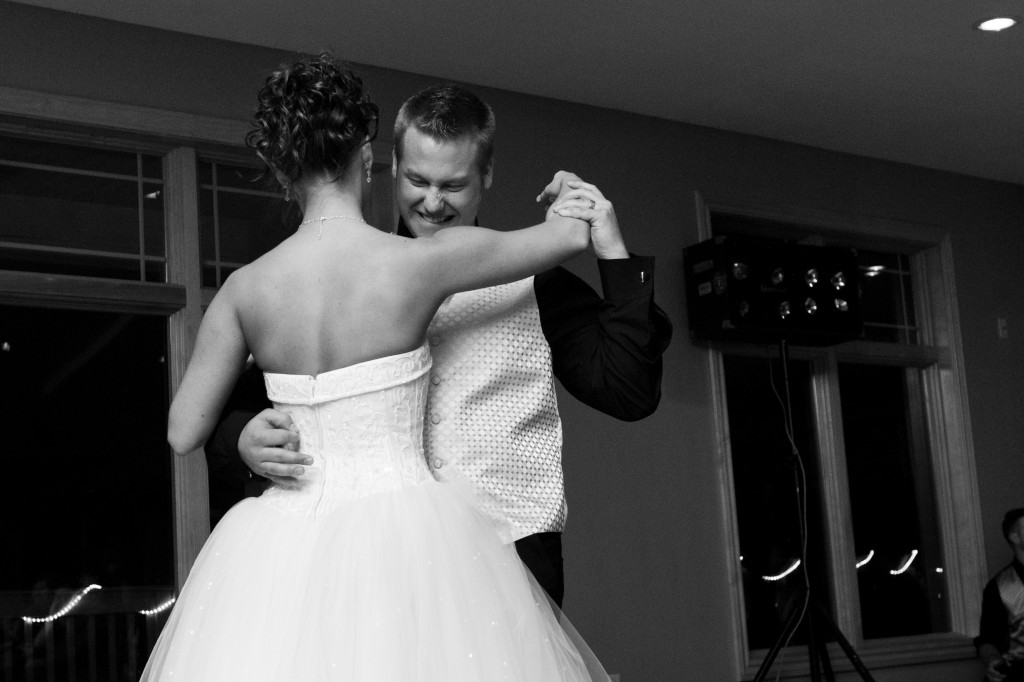
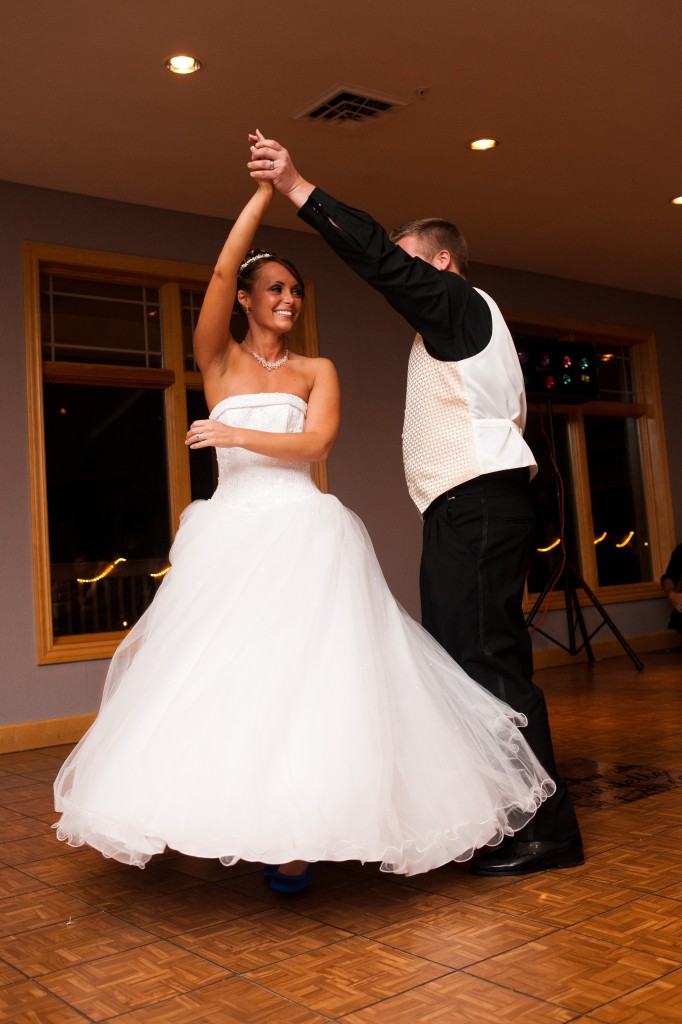
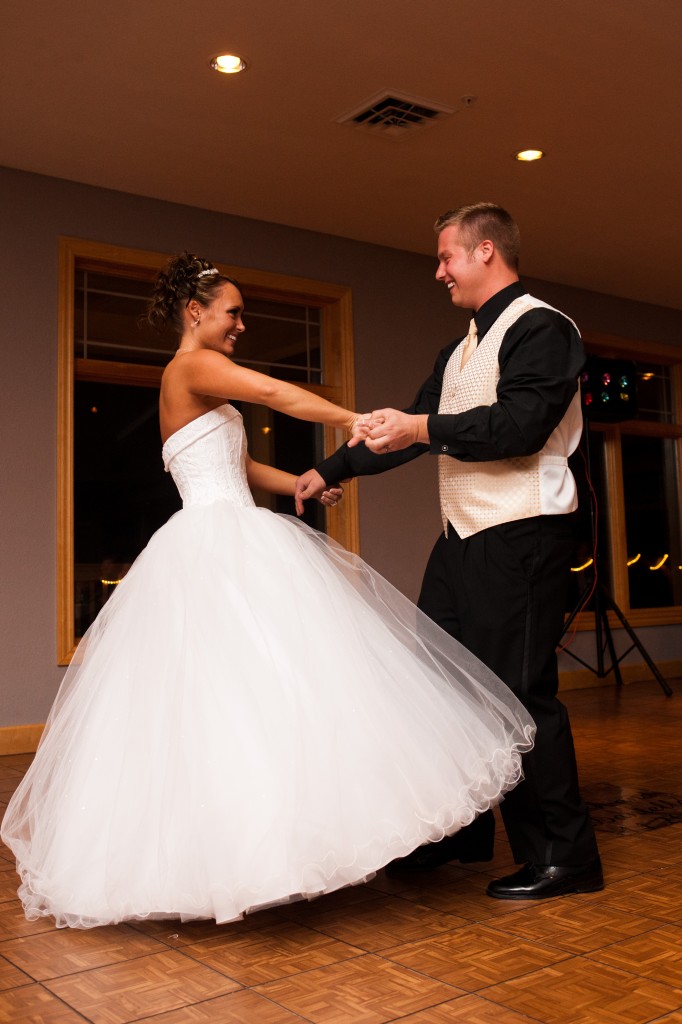
Here are a few of our favorite first dance photos since we’re feeling all nostalgic after our DIY project. 🙂 Photo credit: Inlux Photo.
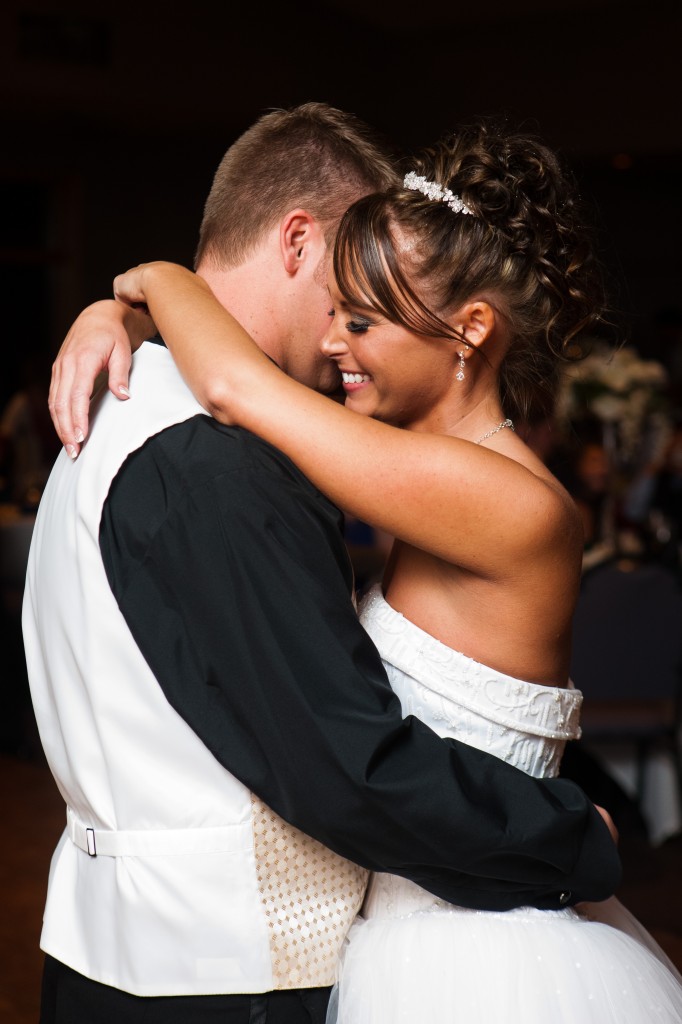
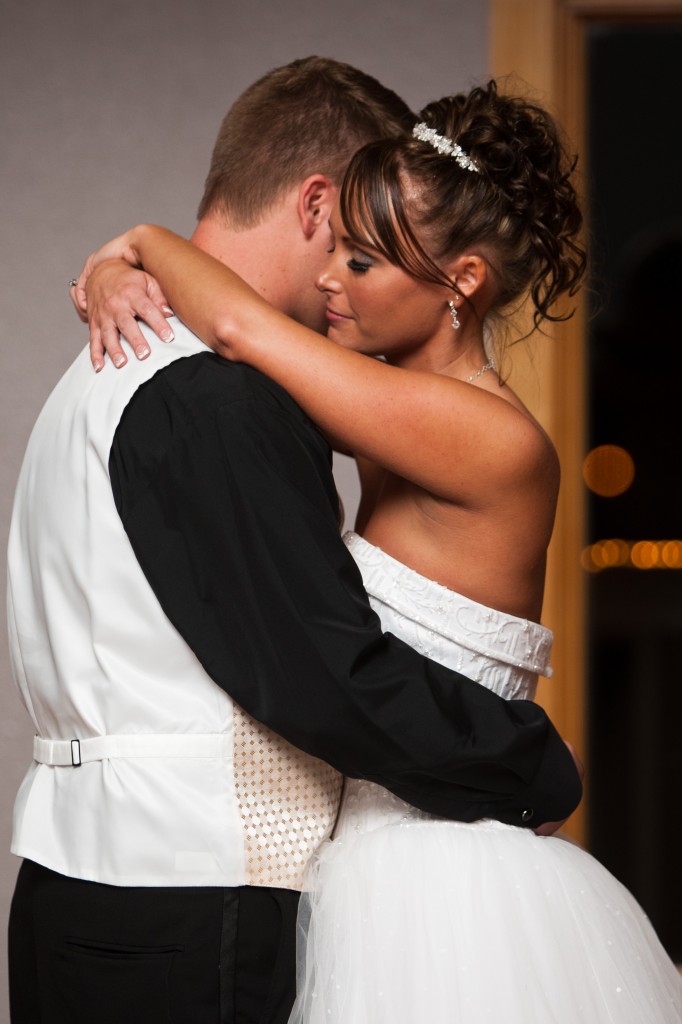
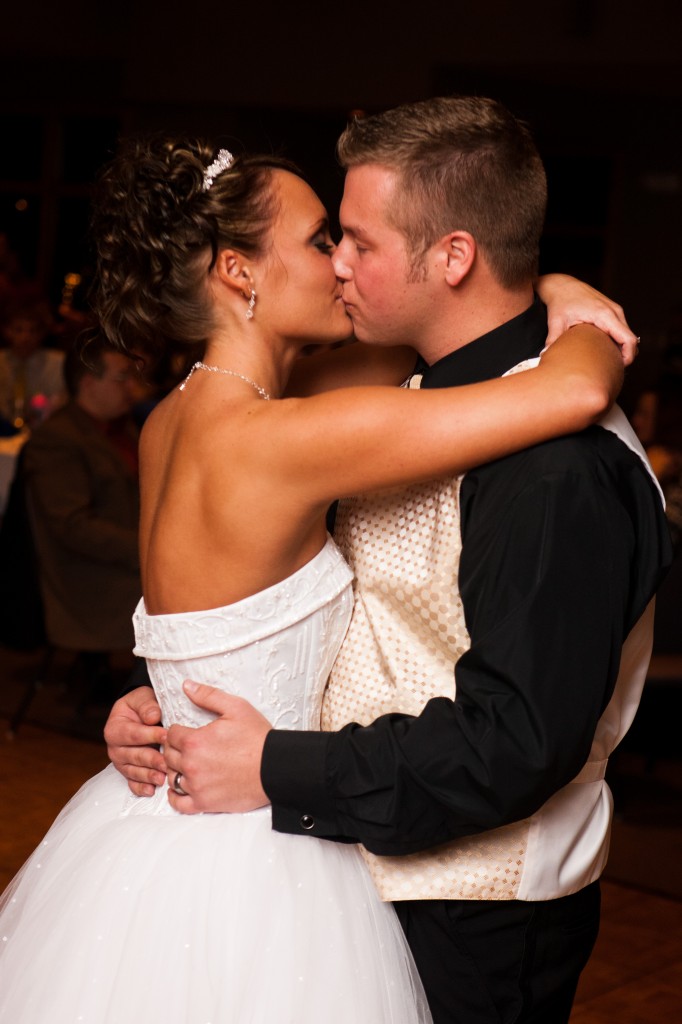 This one is hanging in our living room:
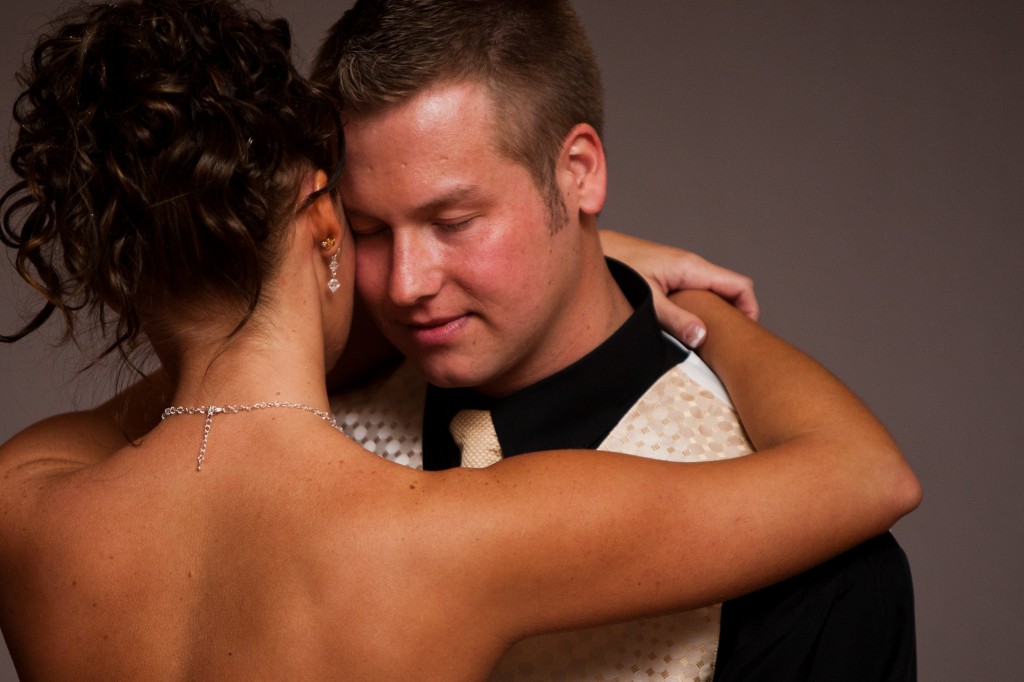 Yes, Josh played the “Danielle Guitar” during the part of the song when the music kicks in harder. 🙂 (2:29 if you’re wondering; we linked to the song below).
 So we’d love to share with you the step-by-step of how we made the lyrics canvases.
1. Gather the materials:
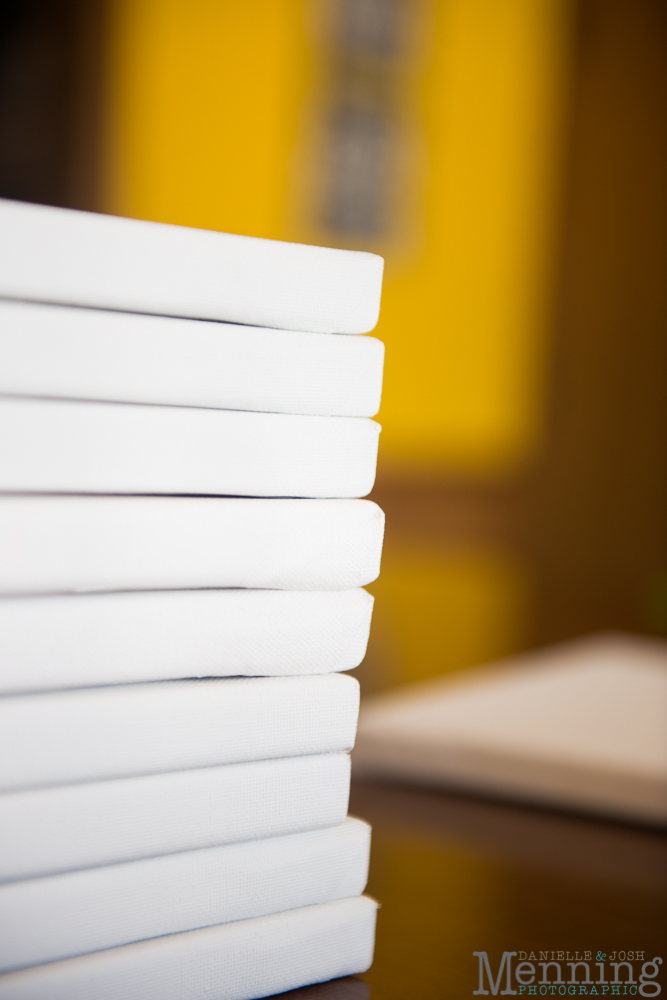
a. Canvases. These can be any size you want. We got canvases from Hobby Lobby. If you want to make your project like we did, you’ll need nine canvases (all the same size as each other).
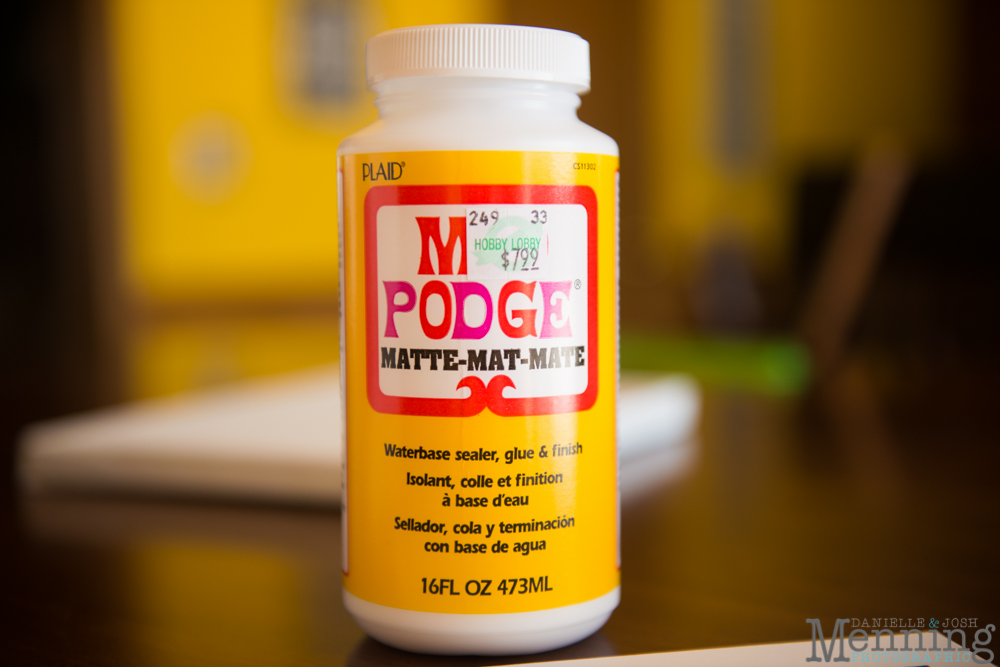
b. Mod Podge
c. Cardstock
d. Some kind of computer program to design the printables that’ll get glued onto the canvases. We used Photoshop.
e. Sponge or paint brush to apply the mod podge.
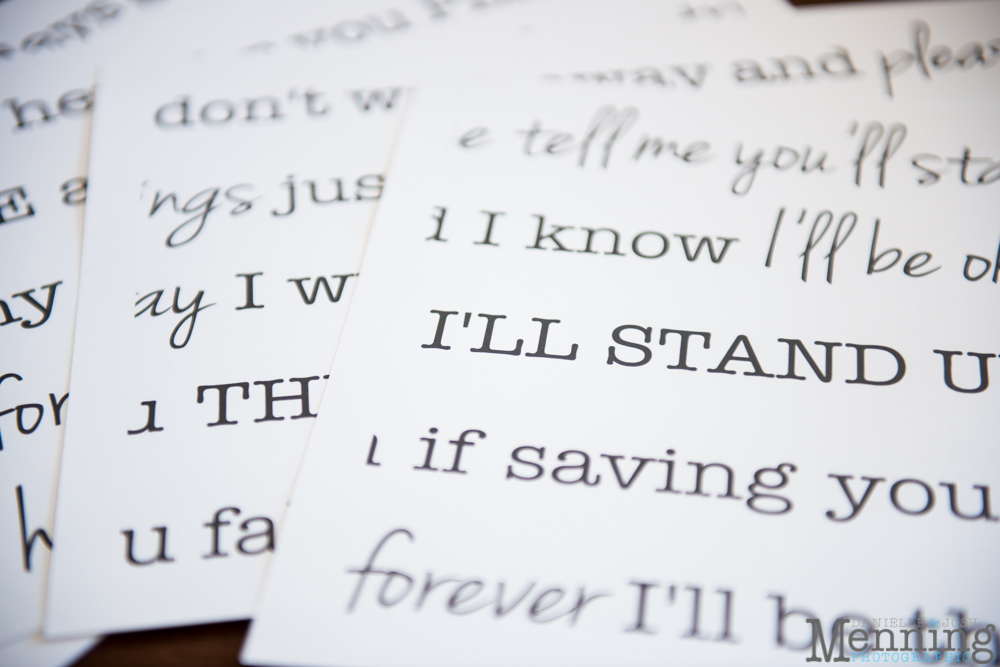
 2. Design the pages with the song lyrics in whichever computer program you want to use. You can choose any font/combination of fonts that you want! Get creative & have fun! Make sure you design them to be the correct size so they’ll fit exactly on the canvases. This doesn’t mean that they’ll fit exactly to the cardstock you print them on; you may have to cut the cardstock.
3. Print the designs onto the cardstock.
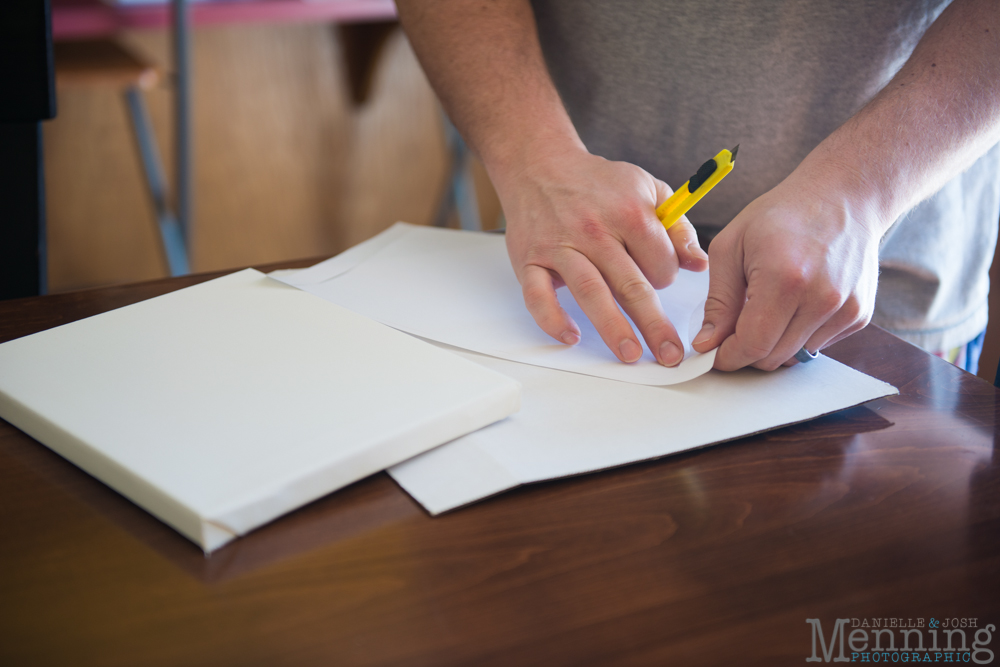
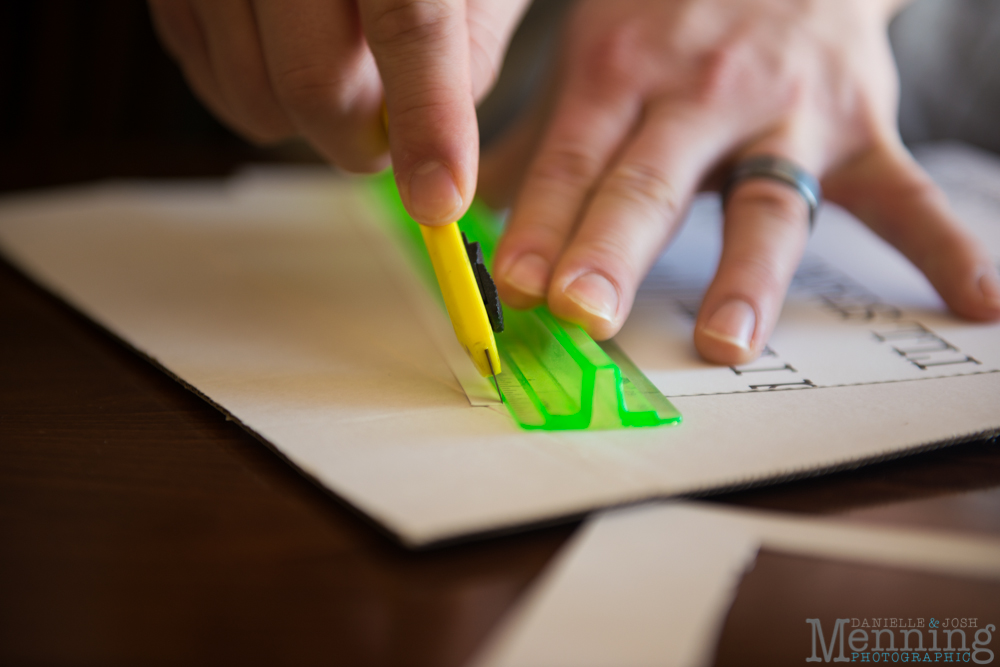
 4. Cut the cardstock if necessary to fit it to the dimensions of the canvases.
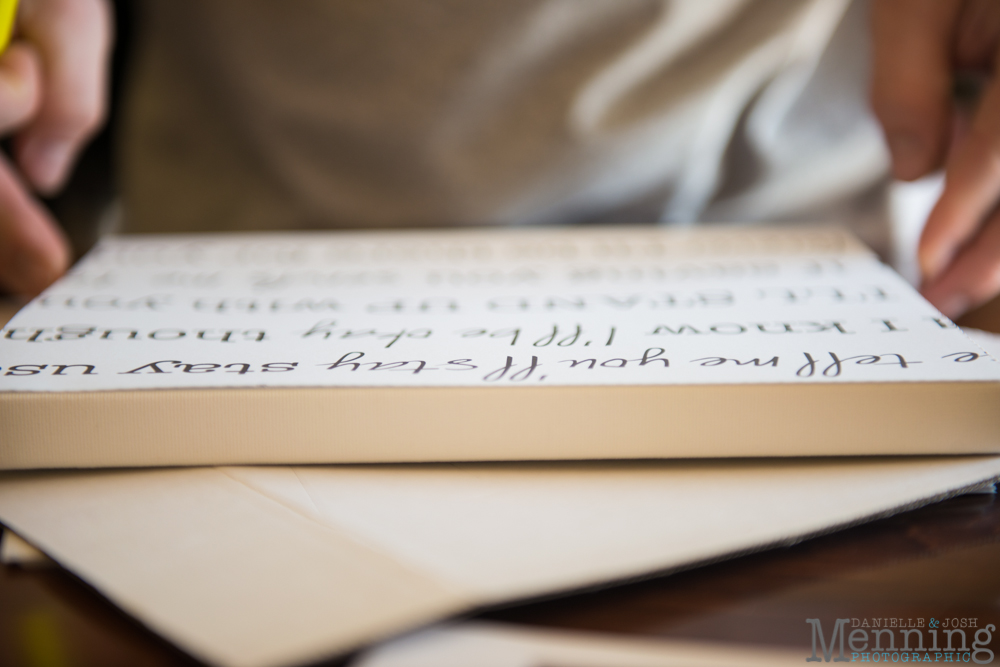 5. Put a thin layer of Mod Podge onto a canvas. Line up the cardstock with the lyrics design so that it’ll fit directly onto the canvas. Stick it- stick it good. 🙂
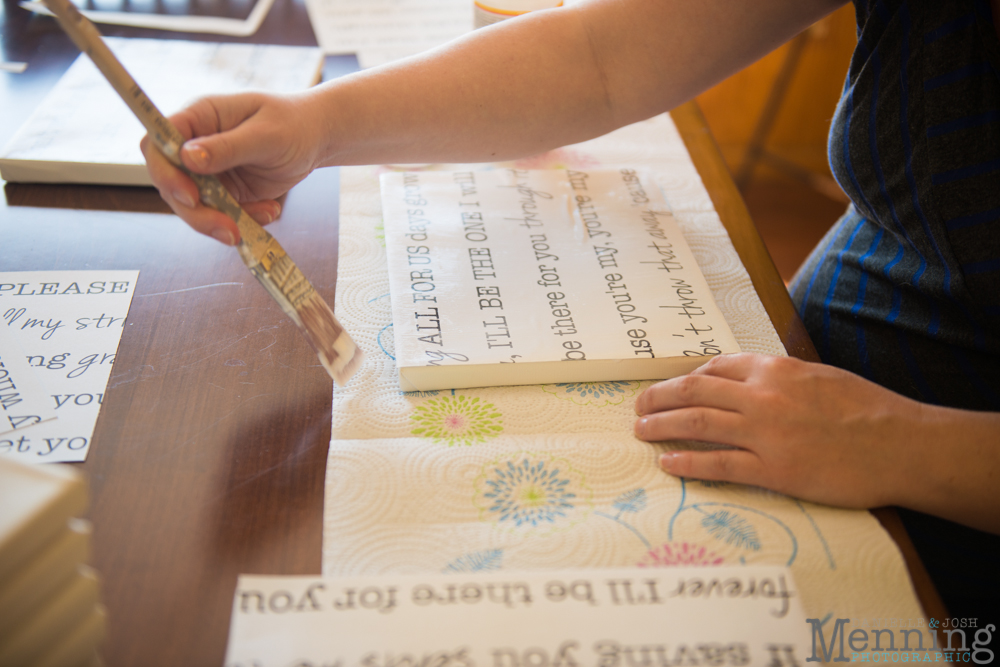 6. Layer the Mod Podge on top of the design. Layering the Mod Podge on thinly works best. Slopping it on thick will not look good.
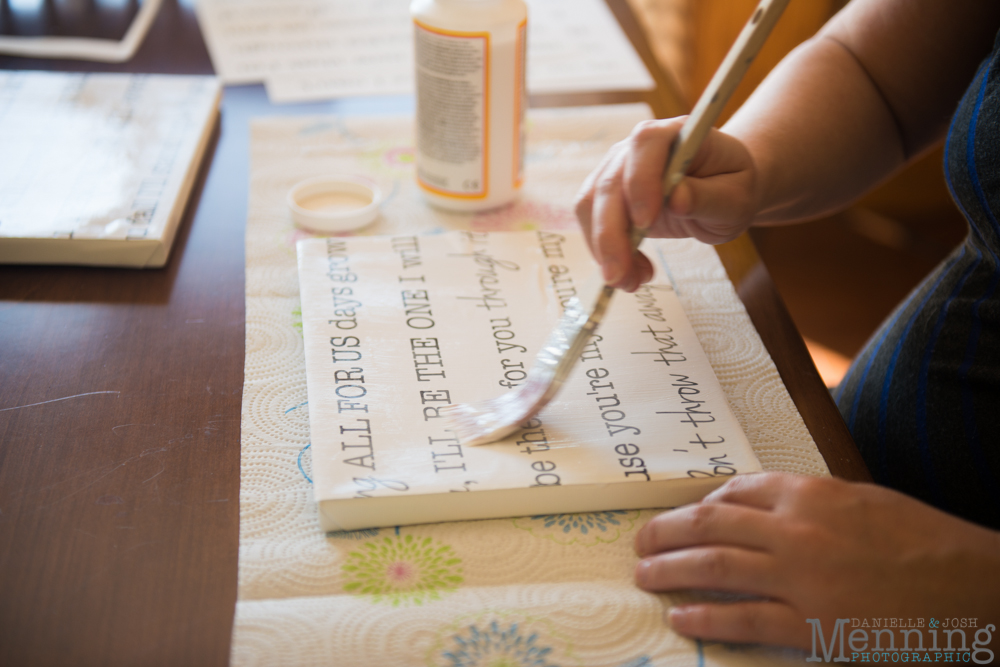 7. Repeat steps 5 and 6 with each canvas until they’re all finished. NOTE: There will be bubbles. You will get frustrated & think that the bubbles are not going to go away & that the canvases look terrible and that you’ll never hang them on your wall. You will do that if you’re like me anyway. Then you’ll remember that I said this would happen and that the bubbles will go away after the canvases sit overnight. You’ll think, “Ugh, these bubbles won’t go away. They’re so ugly!” But, trust me! They’ll settle & the canvases will look great. 🙂
8. Add layers of Mod Podge once the canvases are dry (about 20 minutes) if desired. The more layers of Mod Podge you add, the more textured the canvases will look. We added two layers, but you could certainly add more if you wanted.
9. Measure, line up, and hang the canvases. You can hang them however you like, but we liked them with just a small space in between (about a half inch).
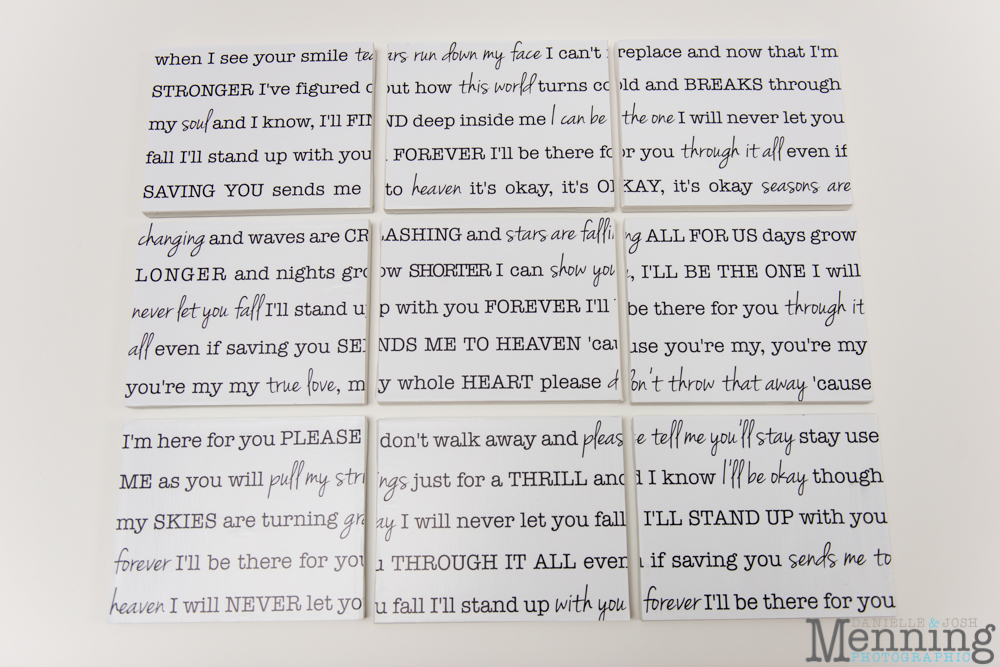
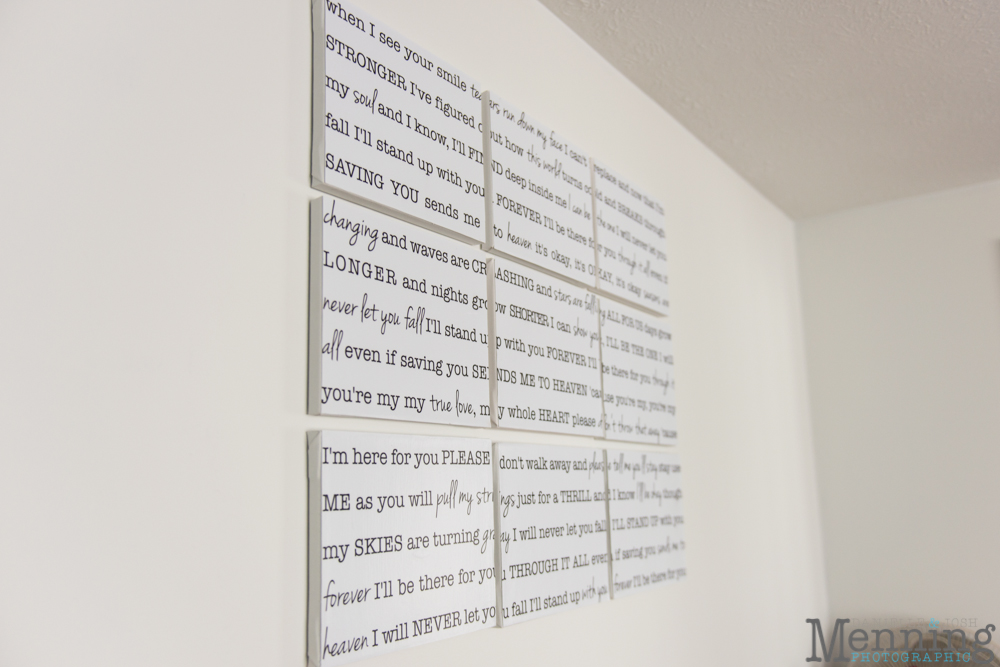
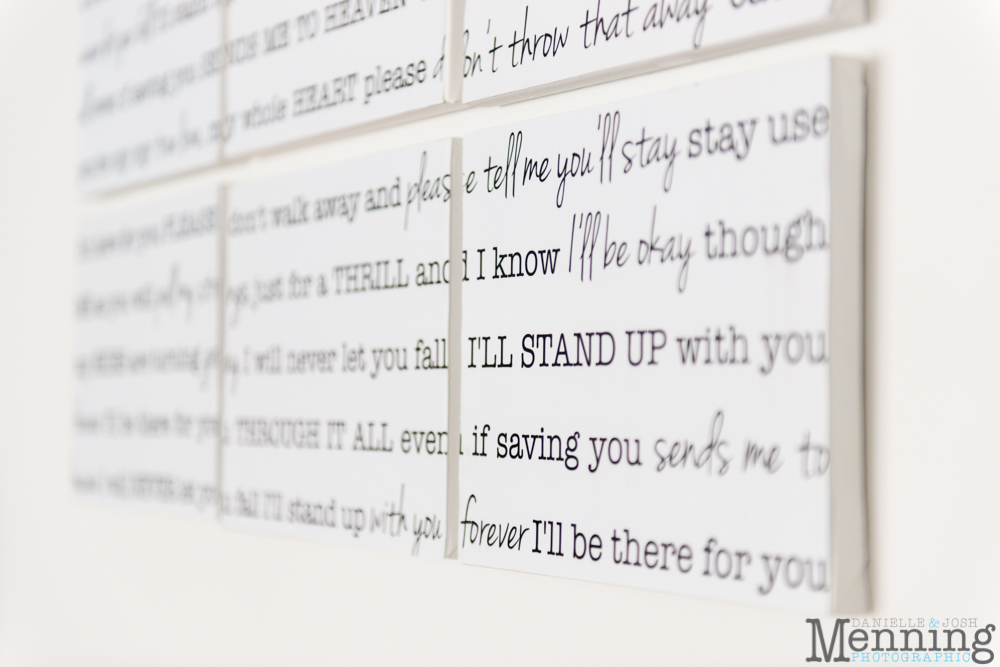 10. Stand back and admire. 🙂
We like this project because it’s so personal and unique. If you’re wondering, our first dance song at our wedding reception was “Your Guardian Angel” by The Red Jumpsuit Apparatus. We’ve photographed nearly 100 weddings & we’ve yet to see anyone else dance to this song. We’re weird & we like it!
“I will never let you fall
I’ll stand up with you forever
I’ll be there for you through it all
Even if saving you sends me to heaven.”
Let us know if you decide to tackle this fun DIY home decor project! We’d love to see your finished product on your wall! You could even hang it next to a first dance photo. . . that’d be beautiful!
Instagram | Facebook | Twitter | Pinterest | Google +
 Follow