Today on the blog, we’re going to share an easy craft that anyone can accomplish that will look great with rustic decor in your home or as part of a centerpiece at an event. Also, it’s inexpensive to create!
What you’ll need:
1.) One quart sized mason jar with lid (standard or wide mouth will work).
2). Vegetable oil (approximately 30 ounces).
3). Two 4×6 inch photographs. (Portrait orientation).
4). Scotch tape (double-sided works best).
5). Baler twine. (Optional).
6). Accent gems. (Optional).
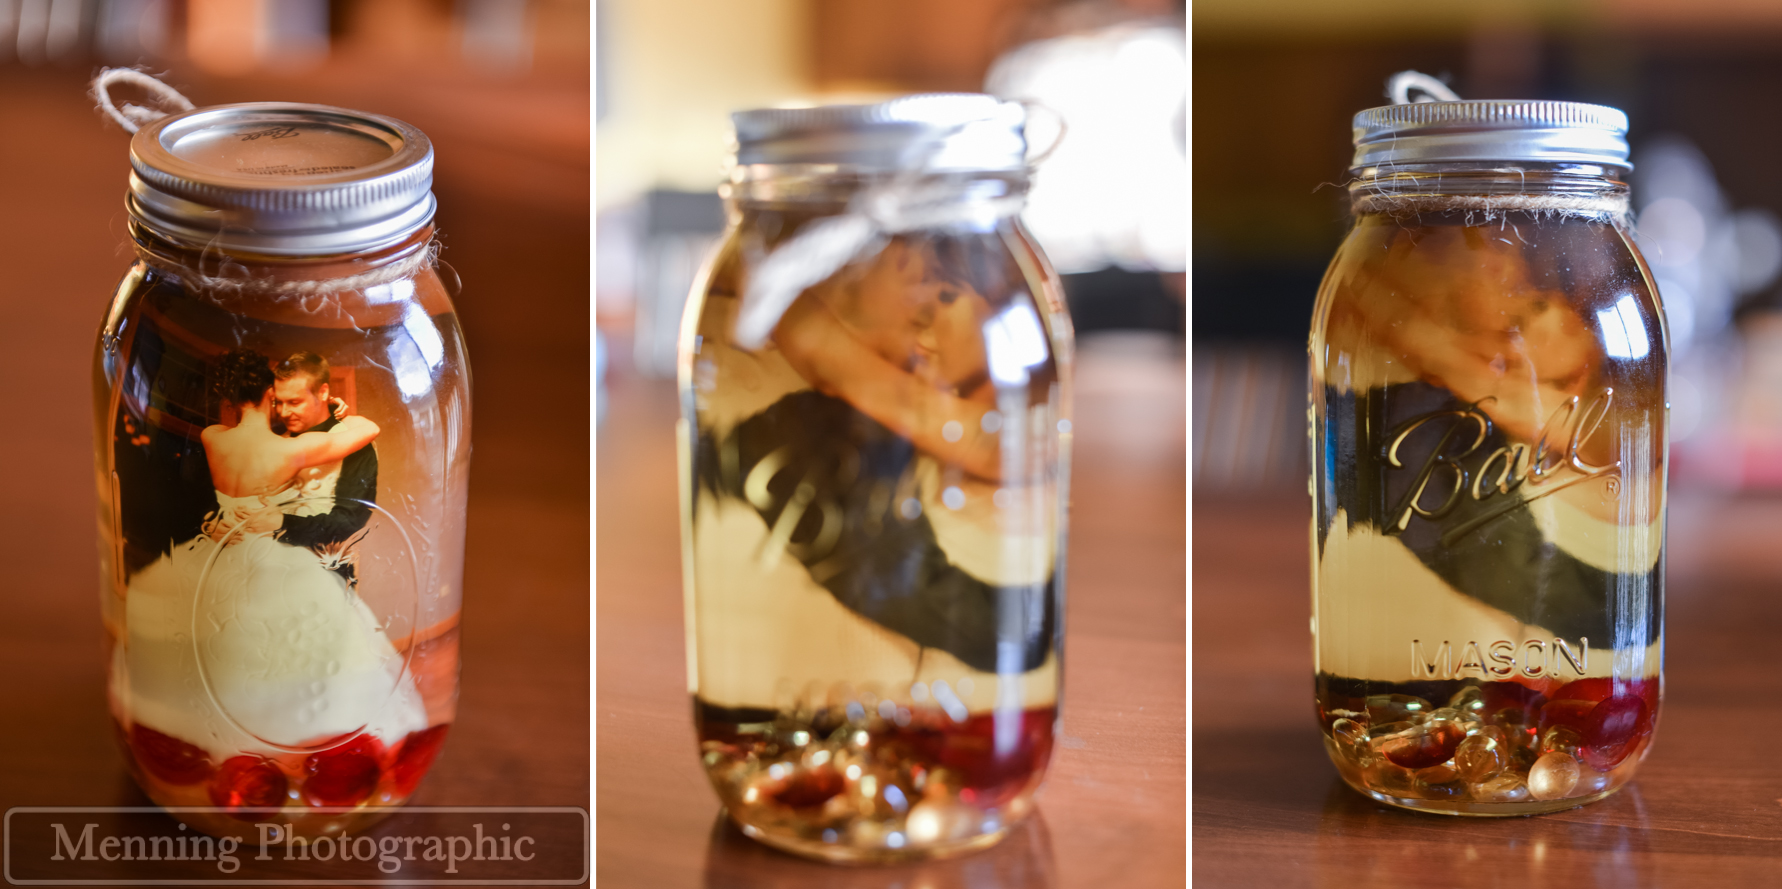 This craft was inspired by Danielle’s friend’s bridal shower centerpieces. We even reused the vegetable oil, gems, and baler twine from her centerpieces for these. First, make sure your mason jar is clean and dry. Next choose two photographs you’d like to display in the jar. We chose our wedding photographs. Once you’ve chosen your photographs, tape them together with Scotch tape. Double-sided works best & holds them together the tightest. Line the photos up exactly on top of one another with the photos facing out on both sides so that once you place it inside of the jar, you’ll see a photo from both sides of the jar. Make sure that they’re mirror images; the top of one photo should be lined up with the top of the other. (They will be back-to-back). Make sure to tape around all of the edges of the photos so that they’re tightly connected; you won’t want the vegetable oil to be able to get in between them & cause them to pull apart.
Now that your photos are ready, set them aside for now. The gems inside of the jars are optional, but they do help in holding the photo in place inside of the jar. If you choose to use the gems, place them in the bottom of the mason jar. It’s up to you how many gems you’d like, but keep in mind that if there are too many gems, they’ll cover up a portion of your photo.
Next, carefully pour your vegetable oil into your mason jar. You can use a funnel if you’d like. Do not fill it to the brim! Leave about an inch of space that is not filled with oil. Now you’re ready to insert the photo. If you are using a mason jar with a standard mouth, you’ll have to bend the photo slightly to get it inside of the jar, but once it’s in the jar, it’ll open back up. Slide the photo down inside of the jar & nestle it within the gems to hold it into place. Now that the photo is inside, you may fill the jar with a little bit more oil if there is room. It doesn’t have to be filled to the lid. A little empty space at the top of the jar is okay. You’re almost finished!
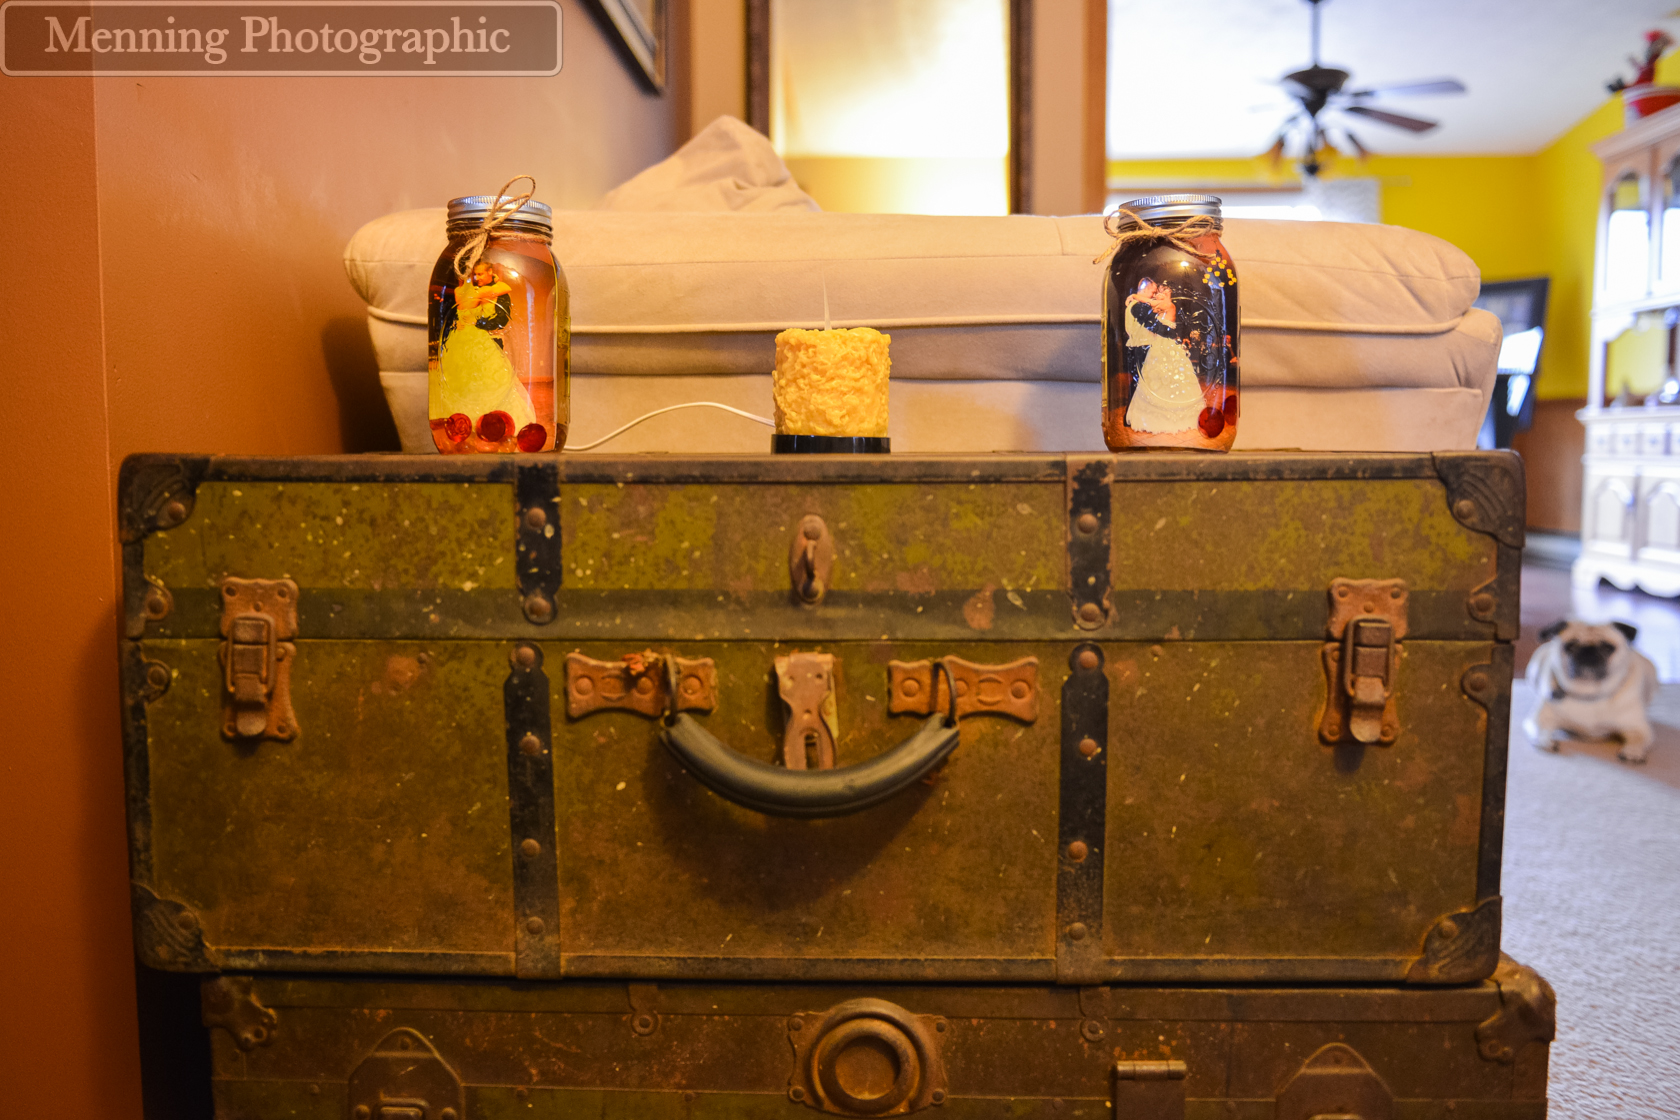
You’re ready to place the lid on the mason jar tightly. Finish the look with the baler twine tied in a cute bow. You can use any kind of ribbon or decoration on the outside of the jar, but I was going for rustic so the baler twine worked perfectly. We love these in our living room! Norris (bottom right of this photo) just wants a treat. 🙂
 If you’d like to use the pint sized mason jars, those look cute, too. You’ll just have to make sure that your photos are 3.5×5 instead of 4×6. We hope you have fun with these & get creative! If you post any to social media, use the hashtag #menningphotographicmasonjarcraft so we’ll all be able to check them out! We’d love to see yours!
Check out our latest work & what we’ve been up to here:
Facebook | Instagram | Twitter | G + | Pinterest
 Follow